Navigation: People | Employees | 'Select Employee' | Action | Leave
Click or tap here to view permission settings
To give a user access to the Leave bubble in the employee application:
- Go to SYSTEM > SECURITY PROFILES.
- Select the Security Profile that requires access to the Leave bubble.
- In Permissions, scroll down and expand EMPLOYEES to find the Employees application permissions.
- Select Employees application to expand the settings within that application.
- Scroll down to Leave within Employees application.
- Tick the Enable box to activate the employee Leave application.
- Tick the View, Add, Change and Delete boxes for Leave Events, Leave Plans, and Leave Balances permissions as required.
- Tick the Enable box to activate the employee Redirect Leave Events if required.
- Select the Green Tick Button to save your changes.
Please reach out to our support team for assistance: raise an iHelp through Infusion.
What's the Leave bubble in the employee application for?
The Leave bubble in the employee application lets you access and manage an individual employee's leave balance and leave plans, and add leave on their behalf.
Once you've opened the Leave bubble, you'll find two views:
- Insights – Gain insights into and manage the employee's allocated leave balances.
- Tasks – Approve, reject, redirect, add, delete, or reverse the employee's leave requests.
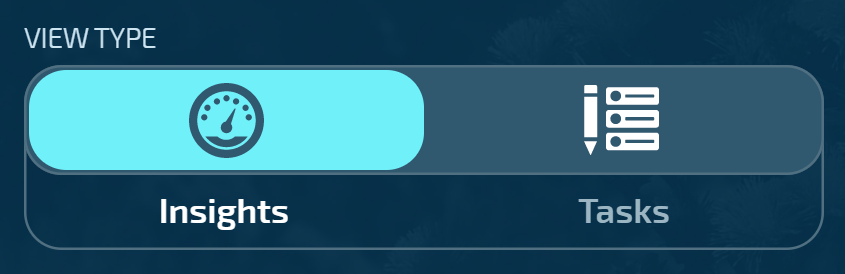
You can switch between Insights and Tasks views by using the VIEW TYPE buttons in the Controls section.
Insights View
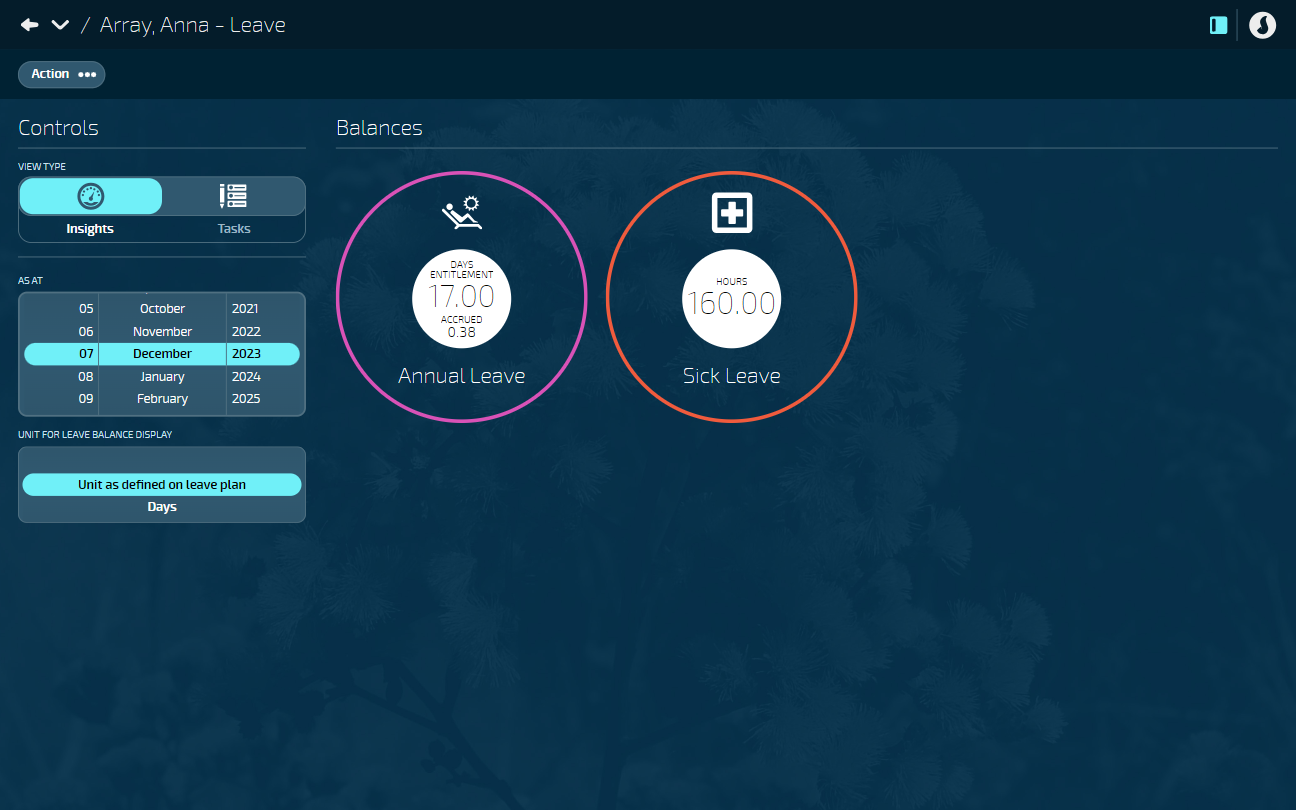
When you first select the Leave bubble, you'll arrive in the Insights view. Here you can see an overview of the leave that is allocated to the employee. You can also perform Actions, such as manage attached leave plans, adjust leave balances, and view leave balance adjustments.
If no leave plans are attached, you can learn how to attach them in Employee Leave Plan Actions.
If a specific leave plan isn't available, your Payroll manager or administrator will need to set it up in People > Leave Plans.
Understanding Balances
You can view the employee's leave balances in each leave plan that's attached to them.
The leave balance will be displayed in hours, days, or weeks, as set in the leave plan, however you can change these in the Controls.
Controls
Use the Controls to forecast the employee's leave or change the leave balance display.
- AS AT control
Changing the date in the AS AT control allows you view the employee's leave balances as at a particular point of time, enabling you to forecast their balances when planning future leave. For example, if you want to see how much leave they'll have during the end of year shutdown period, you can change the date to the end of the year to see what their balance will be then. - UNIT FOR LEAVE BALANCE DISPLAY control
The employee's leave balances will default to the unit that was set when the leave plan was created, however, you can use the UNIT FOR LEAVE BALANCE DISPLAY control to change the leave balance display unit to hours, days, or weeks.
Entitled and Accrued Leave vs Total Balance
There are two ways an employee's leave balance might be displayed, depending on how the system administrator has set up the leave plan:
- Entitled and Accrued: This is the most detailed view. It shows two separate balances:
- Entitlement: This is the accrued leave the employee has earned on their anniversary dates. It's the amount that gets deducted when they take leave.
- Accrued: This is the leave the employee has earned since their last anniversary. They can use it even though it's not officially "theirs" yet. It becomes entitled leave on their next anniversary. NOTE: If their employment ends and they've used accrued leave, it'll be deducted from their final pay.
- Total Balance: This is a simpler view that combines the employee's entitled and accrued leave into one number. This is the total amount of leave they have available.
How Jemini displays your employee's balance in Tasks view
When adding a leave request, the BALANCE METRICS will always show your employee's total available leave, regardless of the leave plan setup (Entitlement and Accrued or Total Balance). This makes it easy to see how much leave they can take.
Negative Entitlement Balance (for plans with Entitlement and Accrued view)
If the employee takes accrued leave in advance (before it becomes entitled), their entitlement balance might show as negative. This negative amount represents the accrued leave they've used but haven't officially earned yet. It'll be deducted from their entitlement on their next anniversary date, bringing their balance back to zero.
Leave plan colours
The leave plans' inner and outer circles have colour schemes to indicate the type of leave and the balance.
Outer circle
The outer circle indicates the leave plan's leave type:
- Alternative Holiday = Purple
- Annual Leave = Pink
- Sick Leave = Orange
- Bereavement Leave = Green
- Other = Red
Inner circle
Your Payroll manager or administrator will have assigned a colour scheme to indicate the leave balance status when they created the leave plan. If no conditions are set, the colour scheme defaults to white.
You can use the colour scheme to quickly identify when to manage your employee's leave. For example, you might want to step in when employee's sick leave falls below zero or if their annual leave becomes too high. If a leave balance colour scheme has been applied, the leave balances that require action might be a different colour from the other balances.
Talk to your HR manager or administrator if you're unsure what the colours on the balances mean.
Tasks View
The Tasks view allows you to approve, reject, or redirect an individual employee's leave request. You can also add, delete, or reverse leave requests on the employee's behalf.
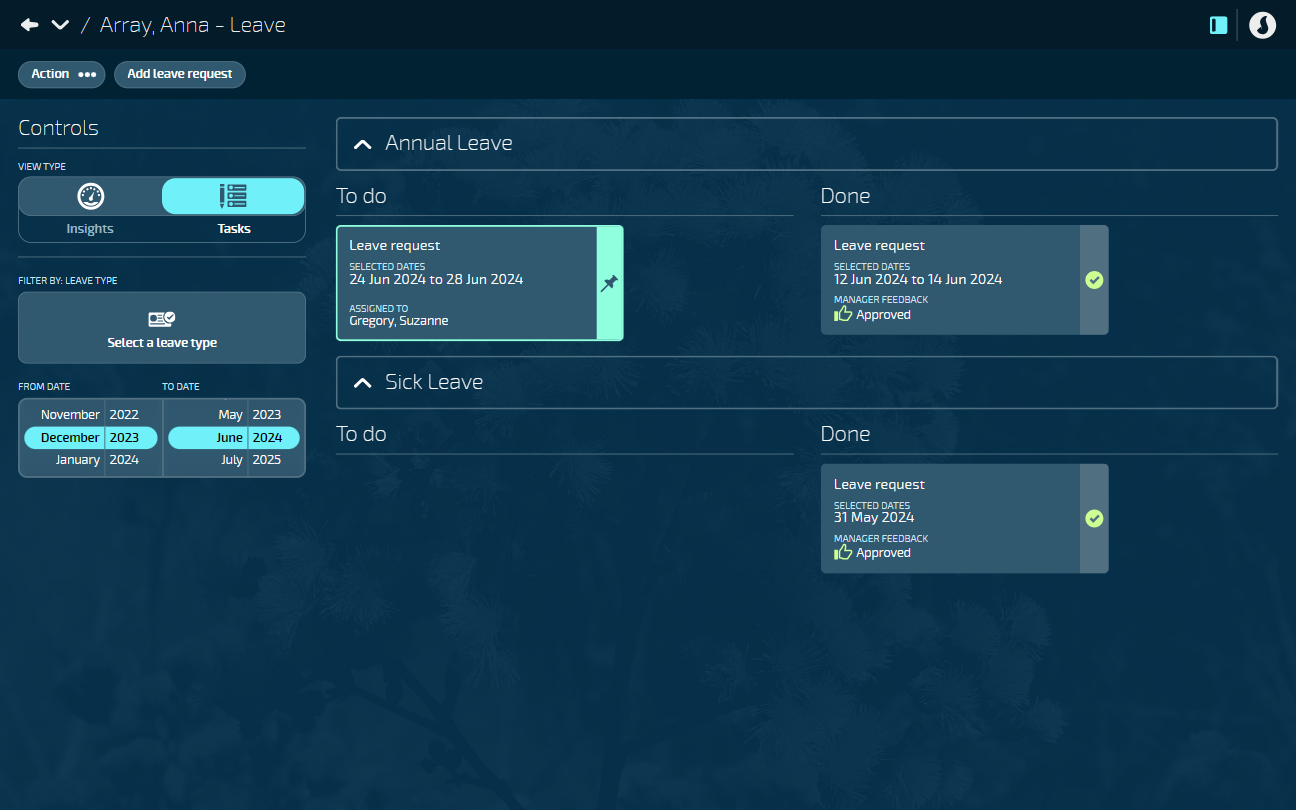
Leave requests are sorted into leave types, such as Annual Leave and Sick Leave. They’re also sorted into To Do and Done sections.
If the employee has submitted a leave request, you'll find it in To Do. These requests need to be approved or rejected. If the task is assigned to you, the card will be outlined in pale green. If the task is assigned to another manager, the card will be outlined in purple.
Approved or rejected leave requests can be found in the Done section and should need no further action.
How to find leave requests in Tasks view
The dates in the Controls will default to six months. If you can't see leave events in the Tasks view because they're outside of those dates, use the Controls to change the FROM DATE and TO DATE to match the dates of the leave events. You can also FILTER BY LEAVE TYPE.
