Navigation: People | Lifecycle | Onboarding
What's an Onboarding Notification?
Notifications are what the assigned users or position establishment will receive to notify them when an onboarding workflow enters into different stages. The step start and end dates are used as triggers to activate the notifications.
Notifications can be used to tell the new starter (employee), their manager, or a specific position establishment when a new step has begun, when it's about to end, or any other relevant onboarding information you want to send them.
Once onboarding notifications are set up, you can attach them to Onboarding Steps.
How to set up an Onboarding Notification
For a detailed guide on setting up notifications in general, refer to Intro to Notification Catalogue.
Alternatively, follow these steps to set up onboarding notifications.
- Go to People | Lifecycle | Onboarding.
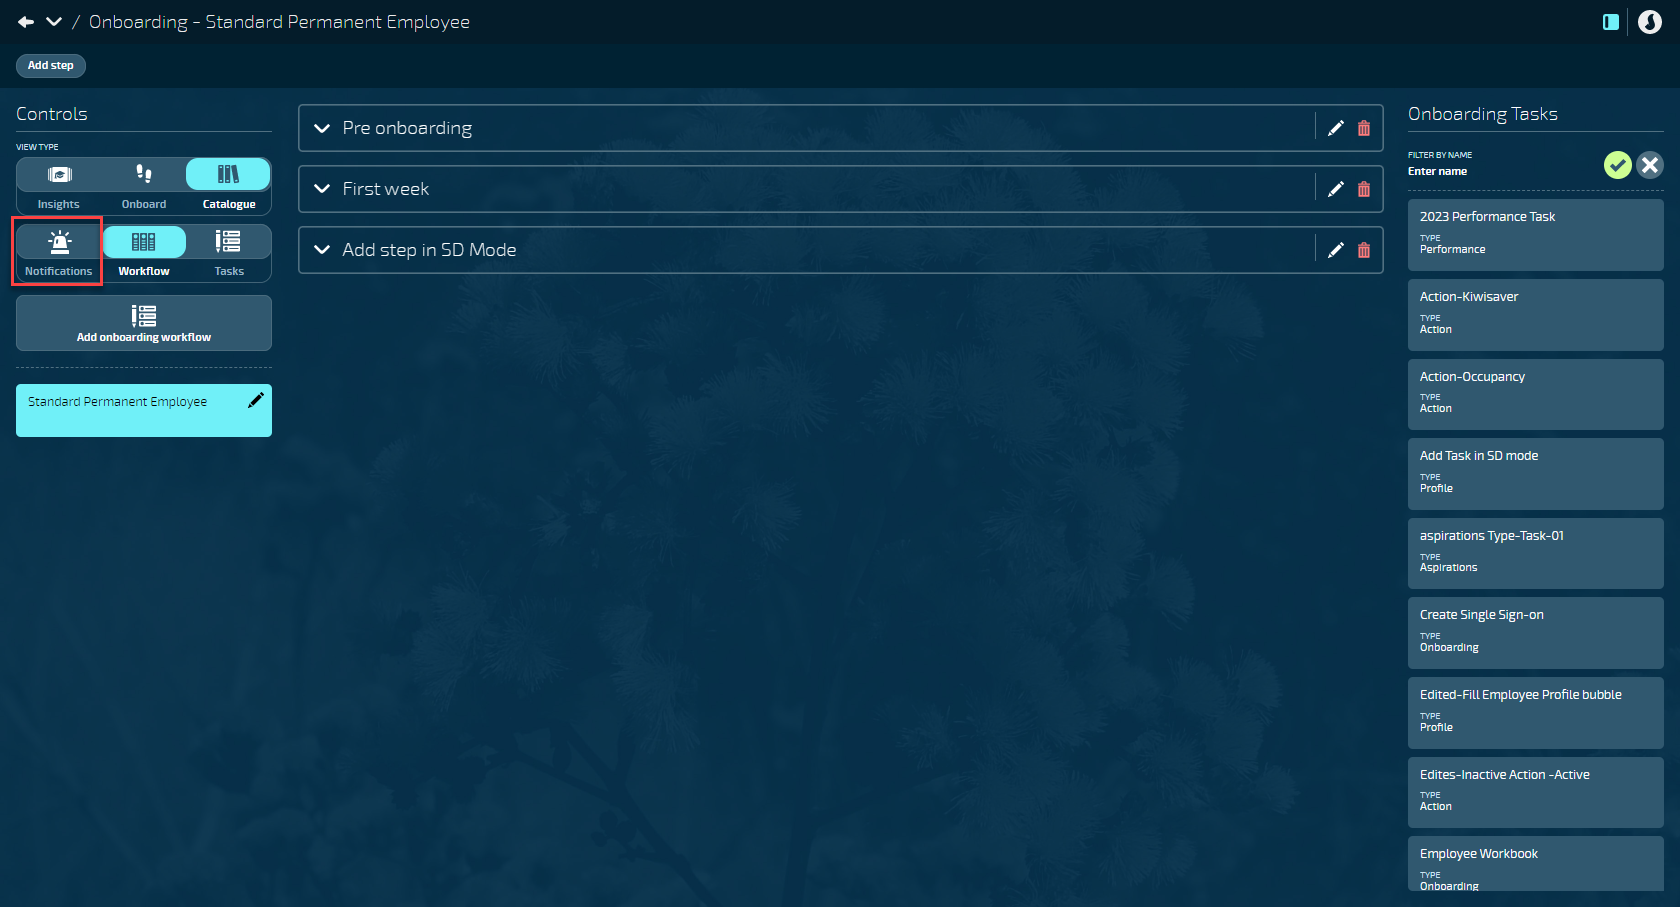
- Select Catalogue in the Controls.
- Select Notifications in the Controls. This is a shortcut that will open the Notification catalogue in a new tab on your browser.

Alternatively, the Notification catalogue can be accessed in System | Notification catalogue.
- Once you're in the Notification catalogue, select Add notification. This will open the ADD NOTIFICATION panel.
- Enter the NOTIFICATION NAME. Choose a name that will help you identify this notification from the rest.
- Open the NOTIFICATION FEATURE backpack and select Onboarding from the list.
- Open the NOTIFICATION DATE TYPE backpack and select Onboarding step start date or Onboarding step end date. For example, if you want to send a reminder to complete their tasks before the deadline, use Onboarding step end date.
- Set SEND NOTIFICATION BEFORE OR AFTER to Before or After to determine when the notification will be sent based on the step start or end date. If you want the start date to be the same day as the trigger date, you can choose either option.
- Enter HOW MANY DAYS BEFORE THE EVENT DATE WILL THE EMAIL BE SENT. The event date is the step start or end date.
- Select WHO RECEIVES THE NOTIFICATION from user types or position establishments.
- Alternatively, you can enter an email address into SEND TO field if the recipient isn't available from those options.
- Additionally, you can enter WHO RECEIVES A COPY OF THE NOTIFICATION.
- Once the recipient has been selected, the Build message button will appear.
- Select Build message to open the MESSAGE editor and enter the information you want to include in the message regarding the onboarding step. You'll be able to enter variables related to onboarding (for example, Onboarding step name).
- Select the Tick icon or the Shrink icon to close the MESSAGE editor.
- Set ACTIVE to Yes or No depending on whether you want to make the notification accessible yet.
- Select the Submit icon to save and close.
You can now attach the Onboarding Notifications to the Onboarding Steps.
Learn how to create Onboarding Steps.
Can I add my company logo to Onboarding Notifications?
Yes! If you want to personalise onboarding notifications by adding your company logo, you can ask your Jemini consultant to set it up for you.
Adding your company logo to onboarding emails boosts professionalism, builds trust, and creates a positive first impression for new starters. It reinforces your brand, enhances credibility, and contributes to a welcoming experience.
To get your company logo added, raise an iHelp through Infusion.
