Who can benefit from this guide?
This guide is for HR managers who are responsible for managing multiple employments. It covers how to add, edit, and delete employments in the Employment Manager.
If you need access to the Multiple Employments feature, please speak to your system administrator or raise an iHelp through Infusion.
What you’ll find in this guide
Quick tips for managing multiple employments

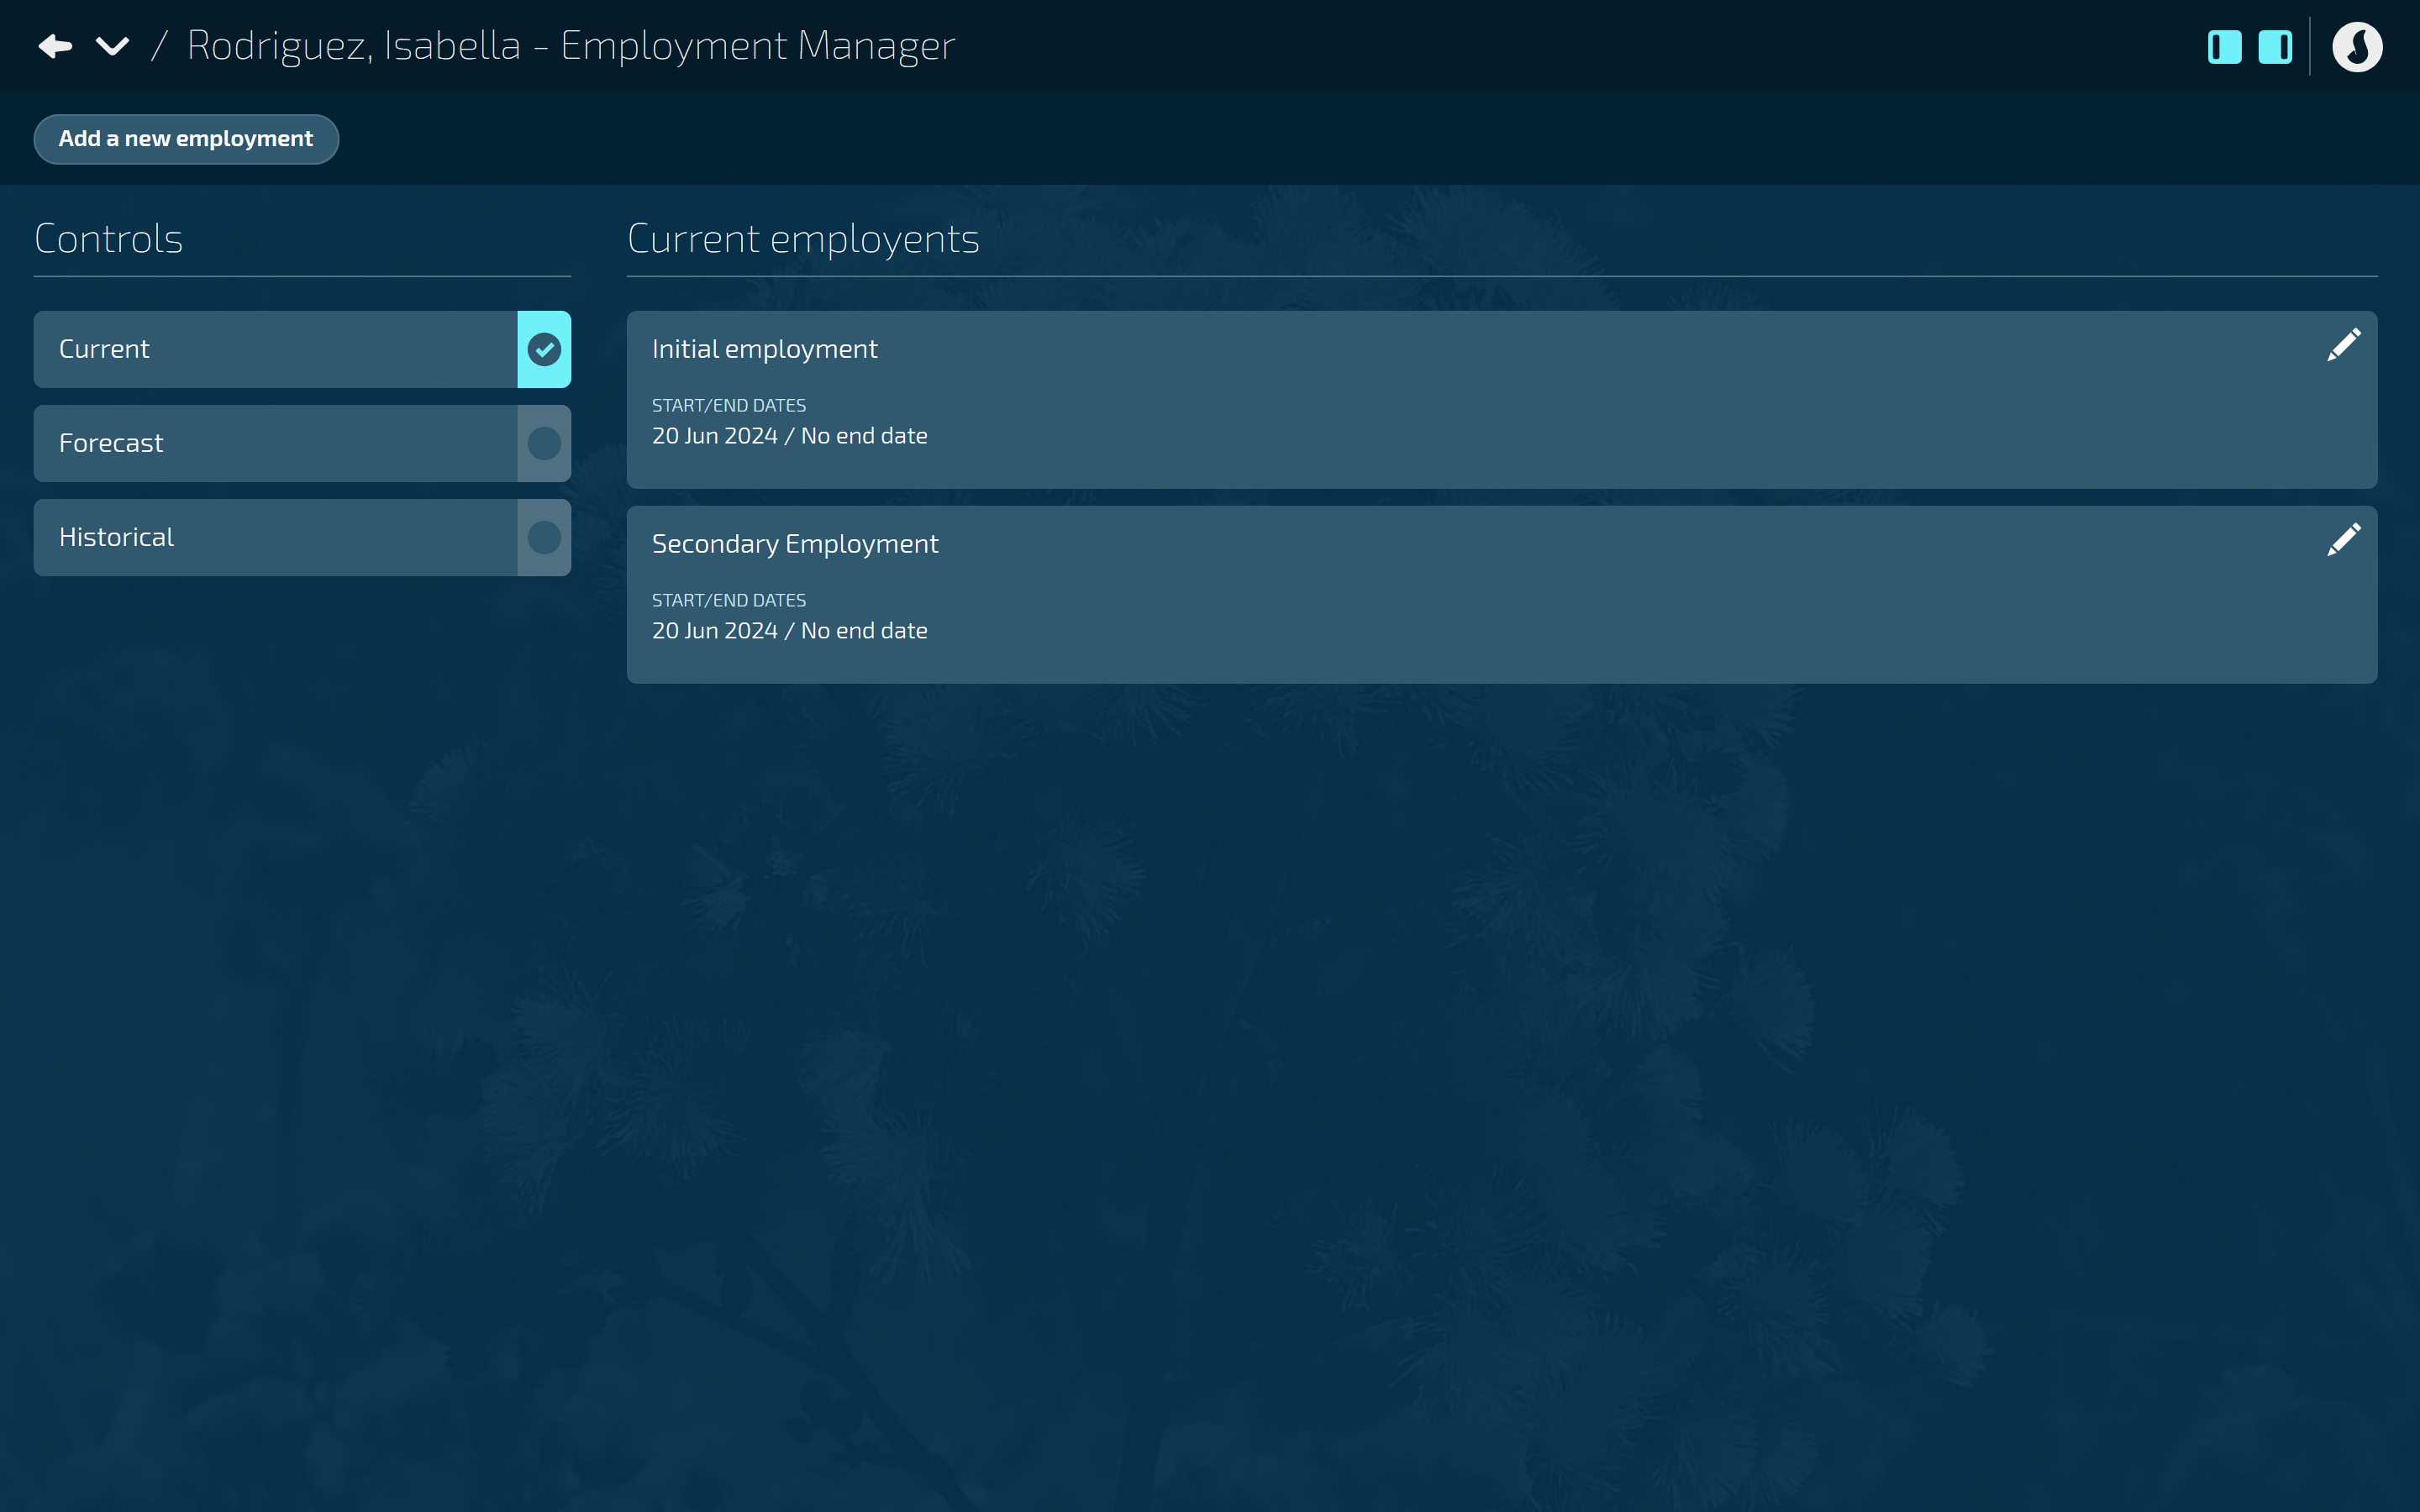
The Controls on the left allow you to view Current [default], Forecast, and Historical employments.
The Initial employment is added by default.
You can add another employment using the Add a new employment button at the top left, which will open the ADD EMPLOYMENT panel.
When you add a new employment, you’ll need to add at least one employment stream to it. See How to add, edit, and delete employment streams.
If you select an employment record, it’ll open a new view where you can manage its employment streams.
If you select the Pencil Icon on the employment record, the EMPLOYMENT panel will open, which is where you can edit the employment name, start date, and end date. This is also where you can delete the employment.
How to add an employment
This is the process for creating an additional employment to an existing employee.
TIP
To create multiple employments for a new employee, create the employee first and set up the employment details for one of their employments, including their profile and pay-related information. Once you’ve done that, you can create additional employments using the process below.
Go to PEOPLE > EMPLOYEES.
Select an employee and open their Employment Manager. For more detailed instructions for this step, refer to How to navigate to the Employment Manager.
Select Add a new employment to open the ADD EMPLOYMENT panel.
Enter the NAME of the new employment.
We suggest choosing a name that clearly distinguishes it from the initial employment.
The employment name must be different from its employment stream name (which you’ll create next).
Enter the START DATE of the new employment.
The start date defaults to today’s date.
(Optional) Enter the END DATE if known.
Select the Green Tick Button to save and close the panel.
Once you save and close the panel, this will automatically open the ADD EMPLOYMENT STREAM panel. You’ll need to enter the employment stream details.
For more guidance on adding an employment stream, refer to How to add, edit, and delete employment streams.
Next steps after creating the employment and its employment stream:
Viewing your newly created employment
Select the back arrow to navigate to the main Employment Management view where you can see the newly added secondary employment under the initial employment.
Use the Controls to change the view from Current to Future or Historical records.
Updating the new employee record
Select the back arrow again until you reach the Employees application. There you’ll see an additional employee record for every employment stream you’ve created, as indicated by the ID Card Icon. You’ll need to open the new employee record to add the secondary occupancy and pay-related details in the Action bubble.
.png)
How to edit an employment
You can change the name, start date, and end date of an employment.
Go to PEOPLE > EMPLOYEES.
Select an employee and open their Employment Manager. For more detailed instructions for this step, refer to How to navigate to the Employment Manager.
Select the Pencil Icon on the employment record to open the EMPLOYMENT panel.
Make any necessary changes to the NAME, START DATE and END DATE.
If you’re editing an ‘Initial employment’ record, you can change the name to something that better describes the employee’s initial employment.
Select the Green Tick Button to save and close the panel.
How to delete an employment
If you’ve created an employment in error, you can simply delete it. Note, you can’t delete an employment if the employee has already been paid through this record.
TIP
This is not the same as terminating an employment. To do that, refer to Intro to Termination.
Go to PEOPLE > EMPLOYEES.
Select an employee and open their Employment Manager. For more detailed instructions for this step, refer to How to navigate to the Employment Manager.
Select the Edit icon on the employment record to open the EMPLOYMENT panel.
Select the Delete Button.
Select Go ahead when the confirmation message appears, or select Go back if you’ve changed your mind.