Who can benefit from this guide?
Payroll staff who are responsible for managing employee pay.
System Administrators: Open to view permission settings
For a user to successfully manage employee pay in Jemini, they’ll need access granted for:
Payroll Processing permissions in Payroll:
Payroll Management application
Adhoc Pay Cycle records
Pay Cycle Processing
Pay Period Files (Australian payrolls only)
Payroll Files (Australian payrolls only)
These permissions can be set in System > Security Profiles.
NOTE: If the user hasn't been given access to all employees and all payrolls in their user profile, you'll need to give them access to the the necessary payrolls from the PAYROLL ACCESS backpack. Find the PAYROLL ACCESS backpack in System > User Profiles, under the user profile’s Filter employee and Payroll Access settings.
If you need help, reach out to our support team: raise an iHelp through Infusion.
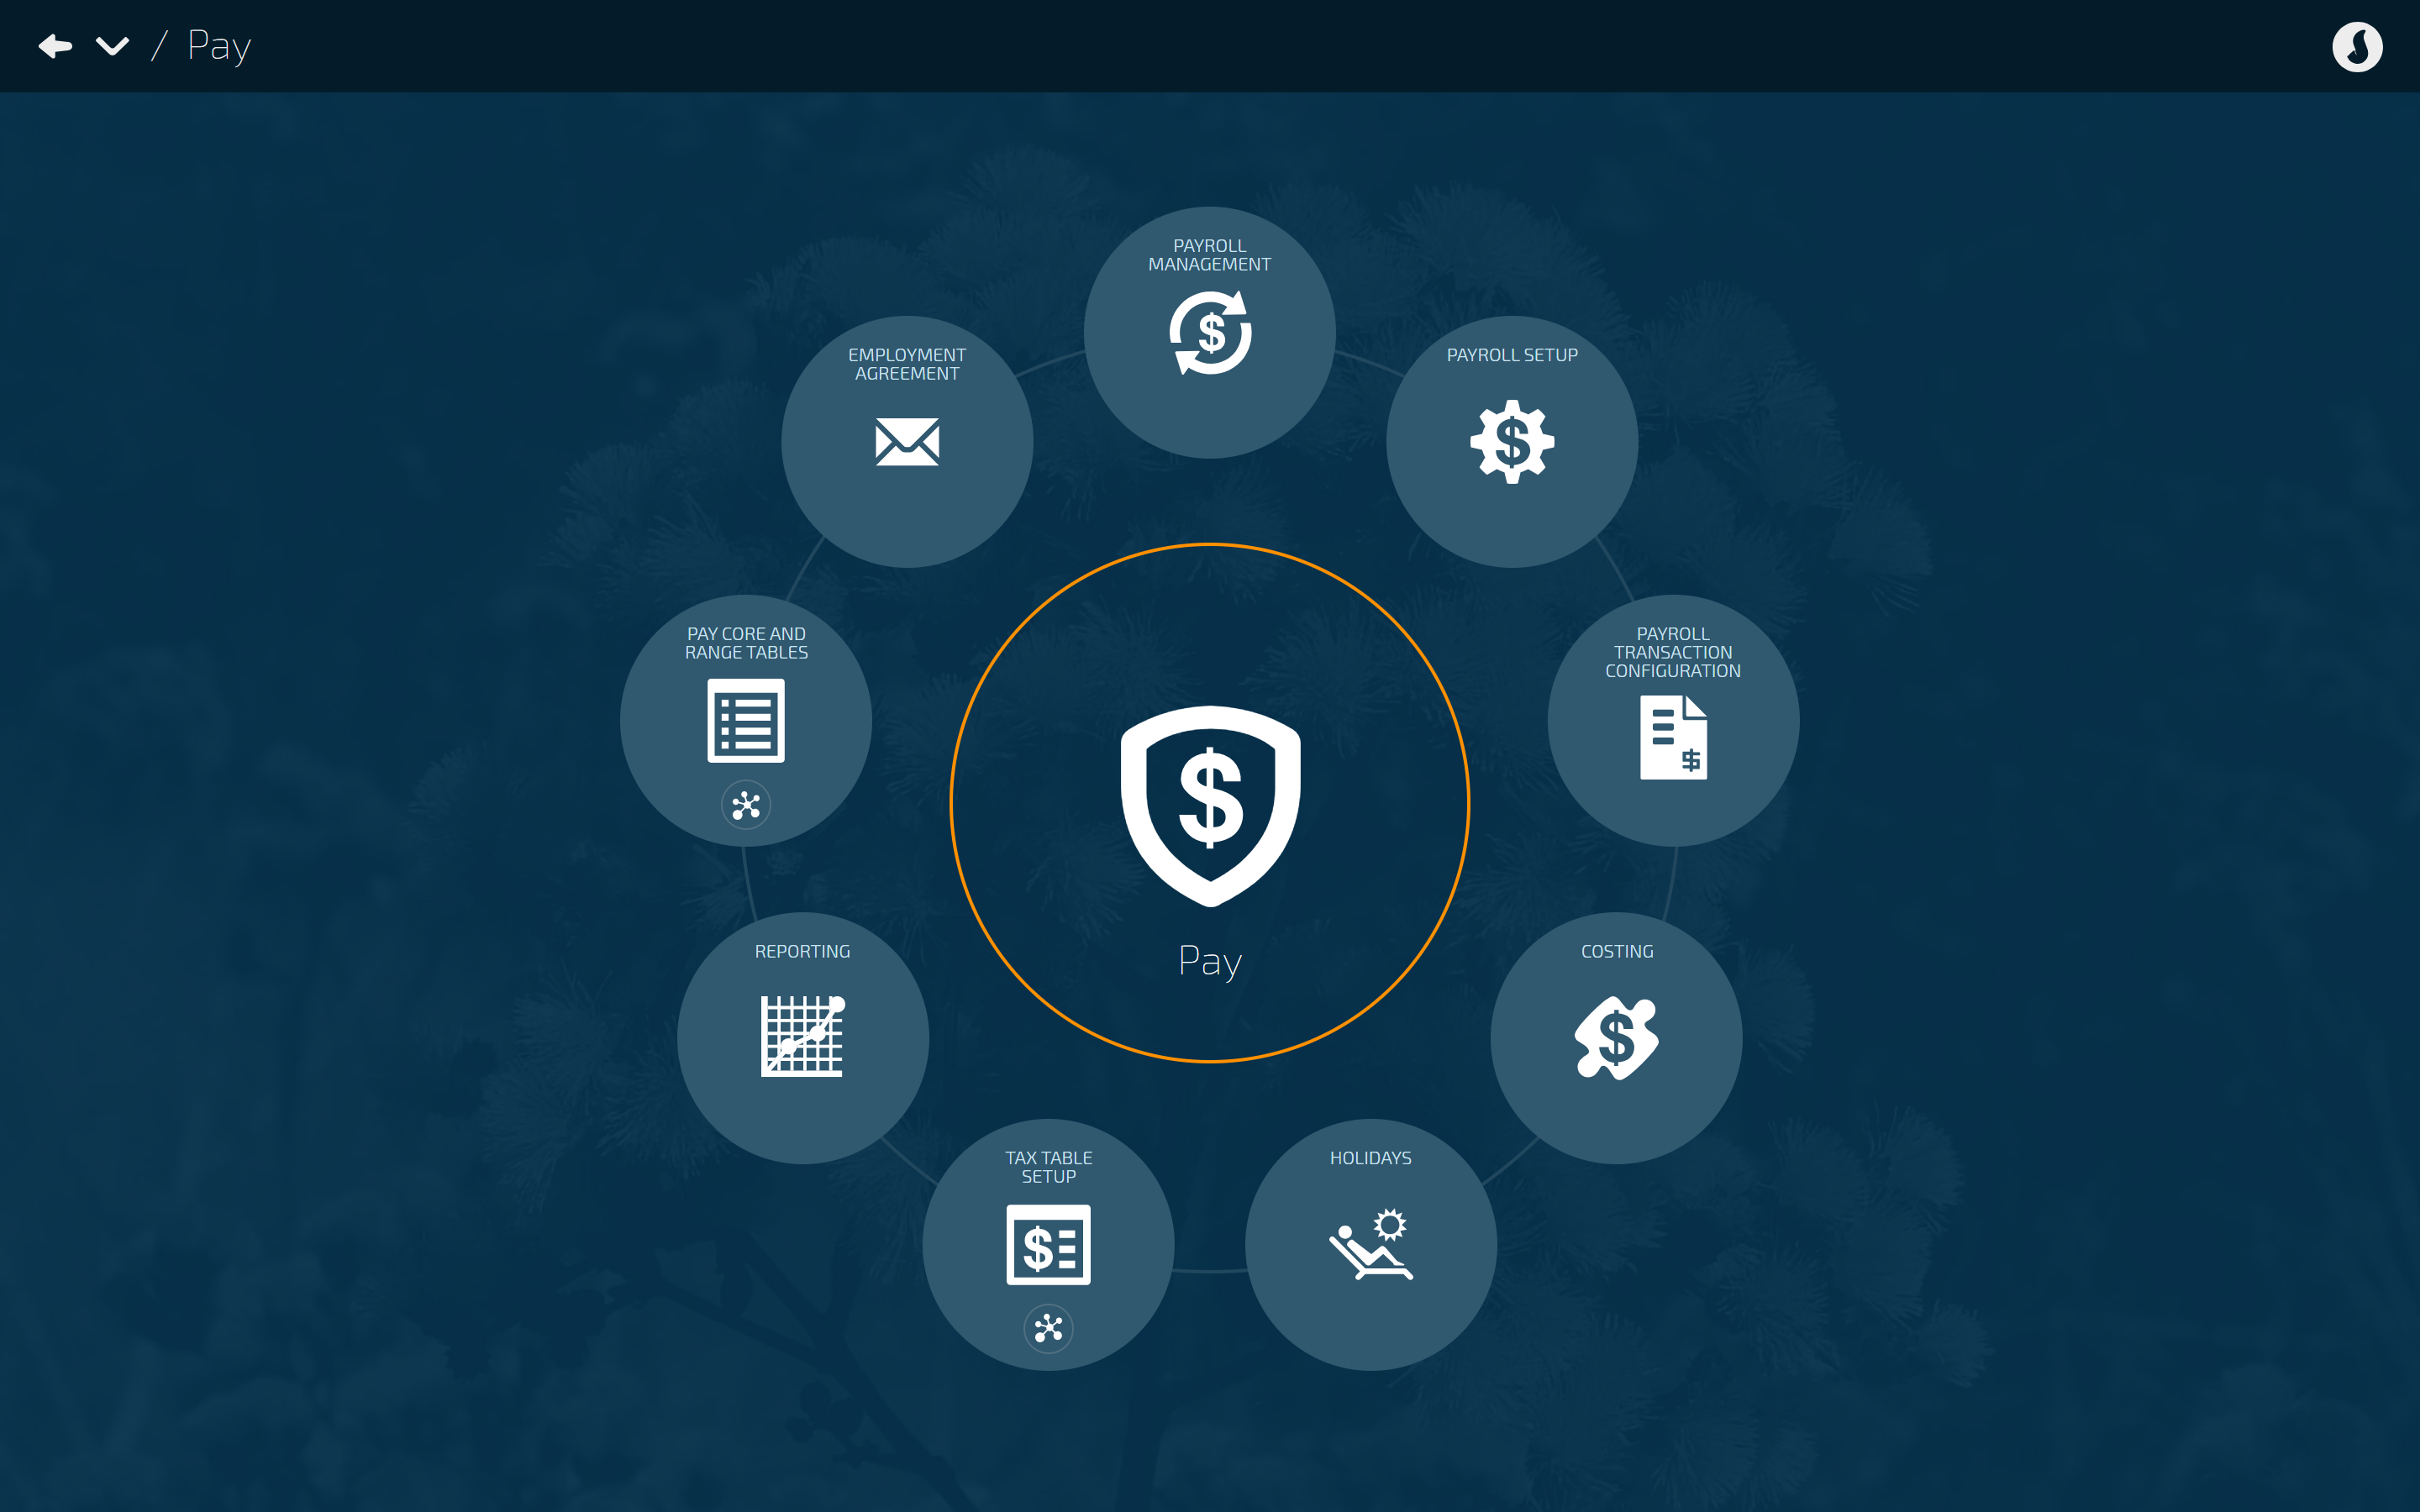
Payroll Management makes managing payrolls easier
The Payroll Management interface makes it easier for you to select payrolls and pay periods, manage pay in the Pay Cycles view. For Australian payrolls, you can view payroll information and generate files for Single Touch Payroll (STP) reporting.
TIP
The new Payroll Management bubble replaces the Pay Cycles bubble in Pay. You can still perform the same tasks as you could in the previous Pay Cycles view, but they’re now easier and more intuitive.
Selecting a payroll and pay period
Select a payroll in the Controls section
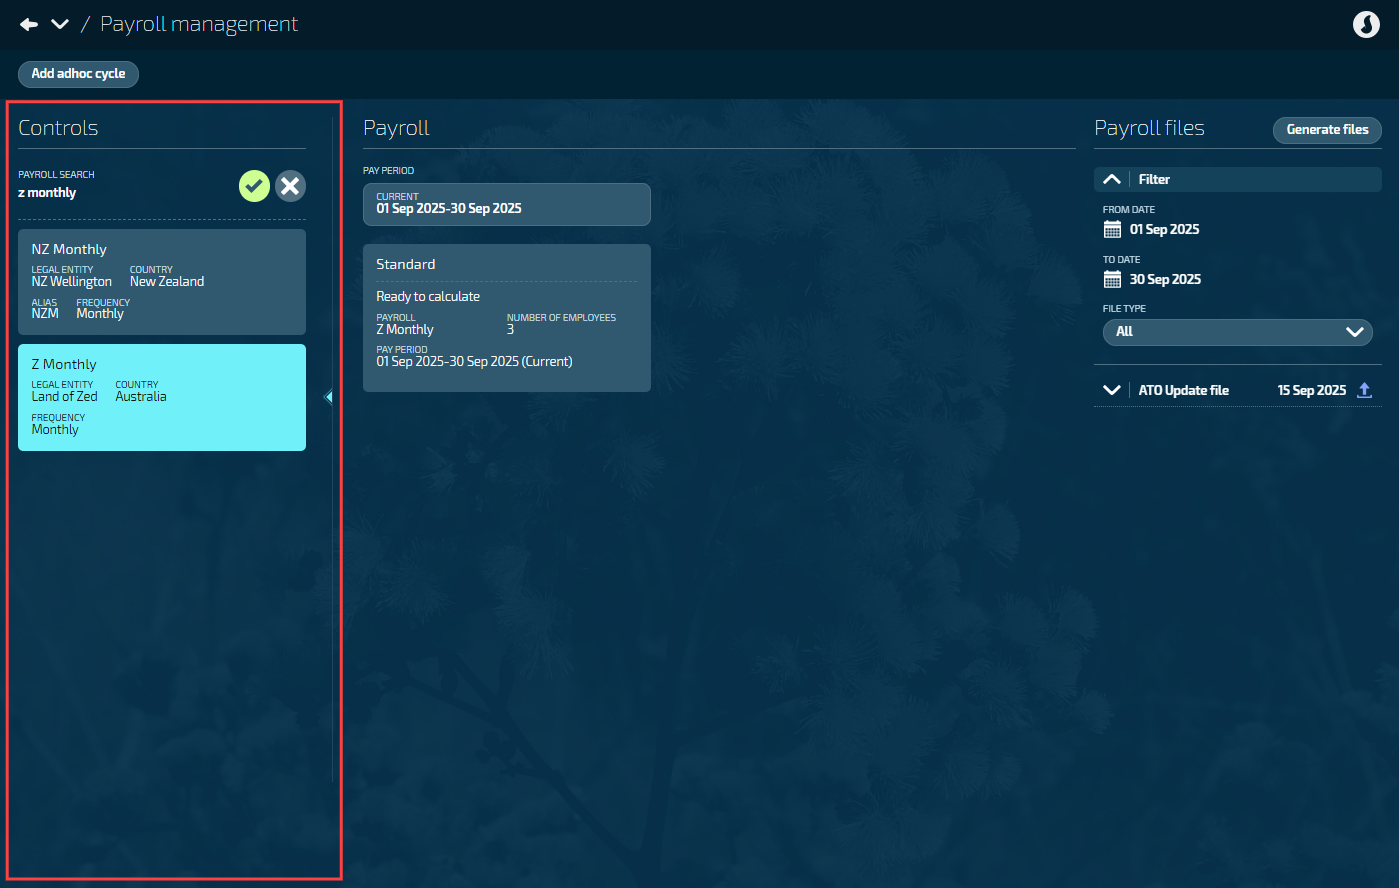
Selecting a payroll is simple; just select an available payroll information card in the Controls panel on the left. When you select a payroll, its information card will be highlighted.
TIP
If you have a lot of payrolls, you can scroll down the list of payroll information cards. You can also filter by payroll name or part-name.
Payroll view
Once a payroll information card is selected, that payroll's current pay period details will display in the Payroll view.
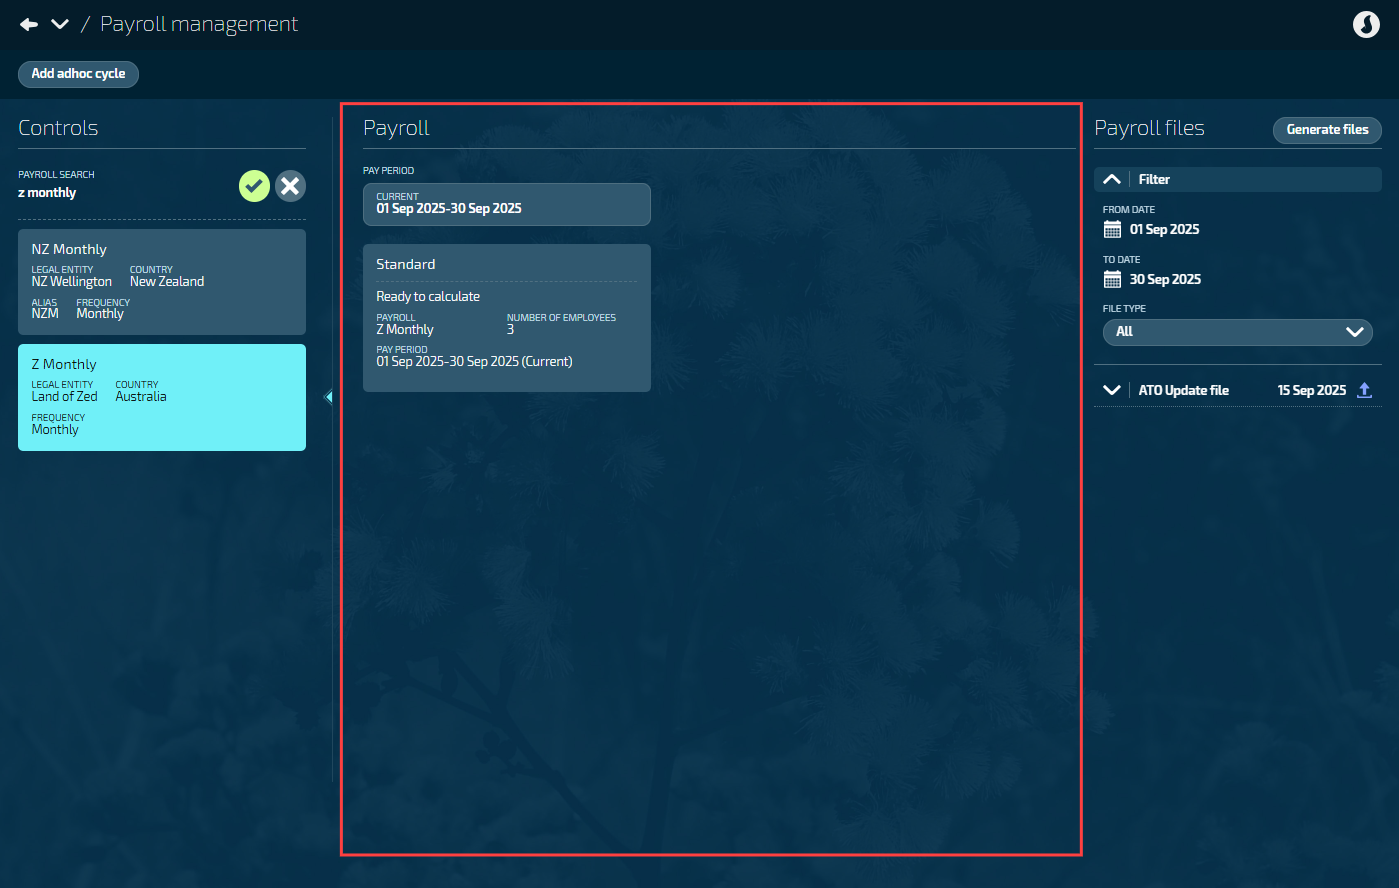
Australian employers can generate and view Payroll files

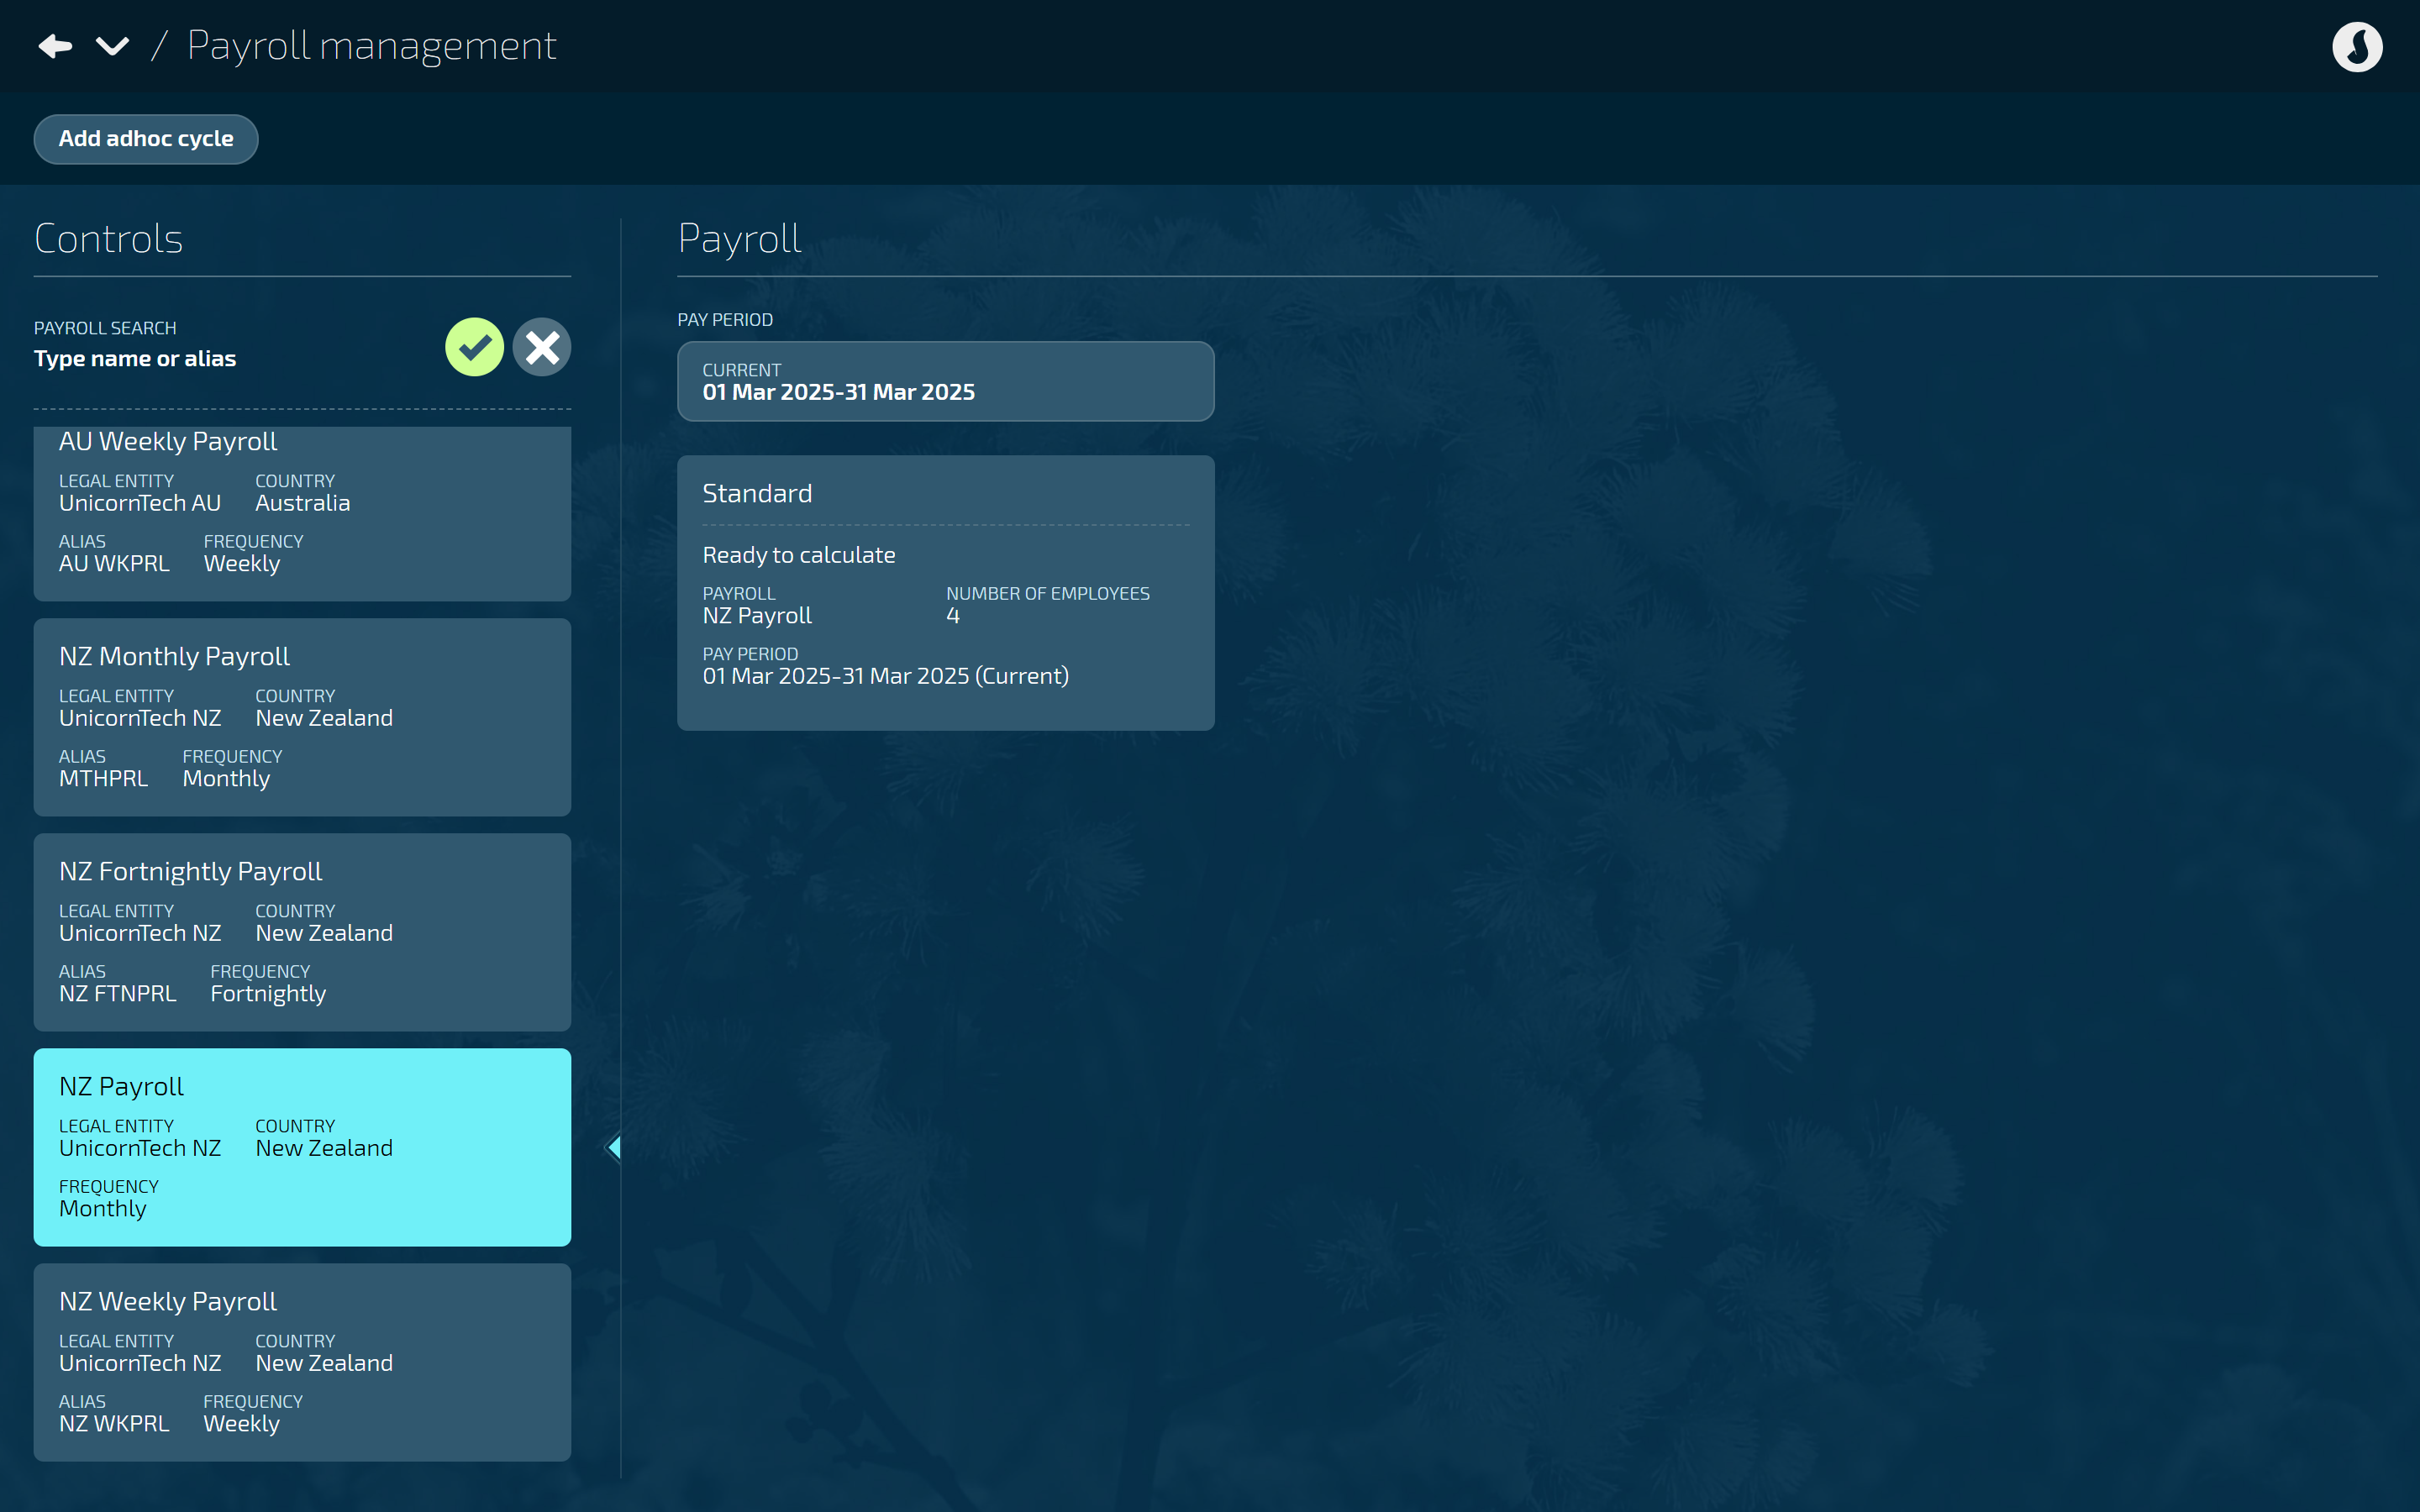
TIP
If you have a New Zealand payroll, the view will look like this:
Select a pay period to display the relevant pay cycles
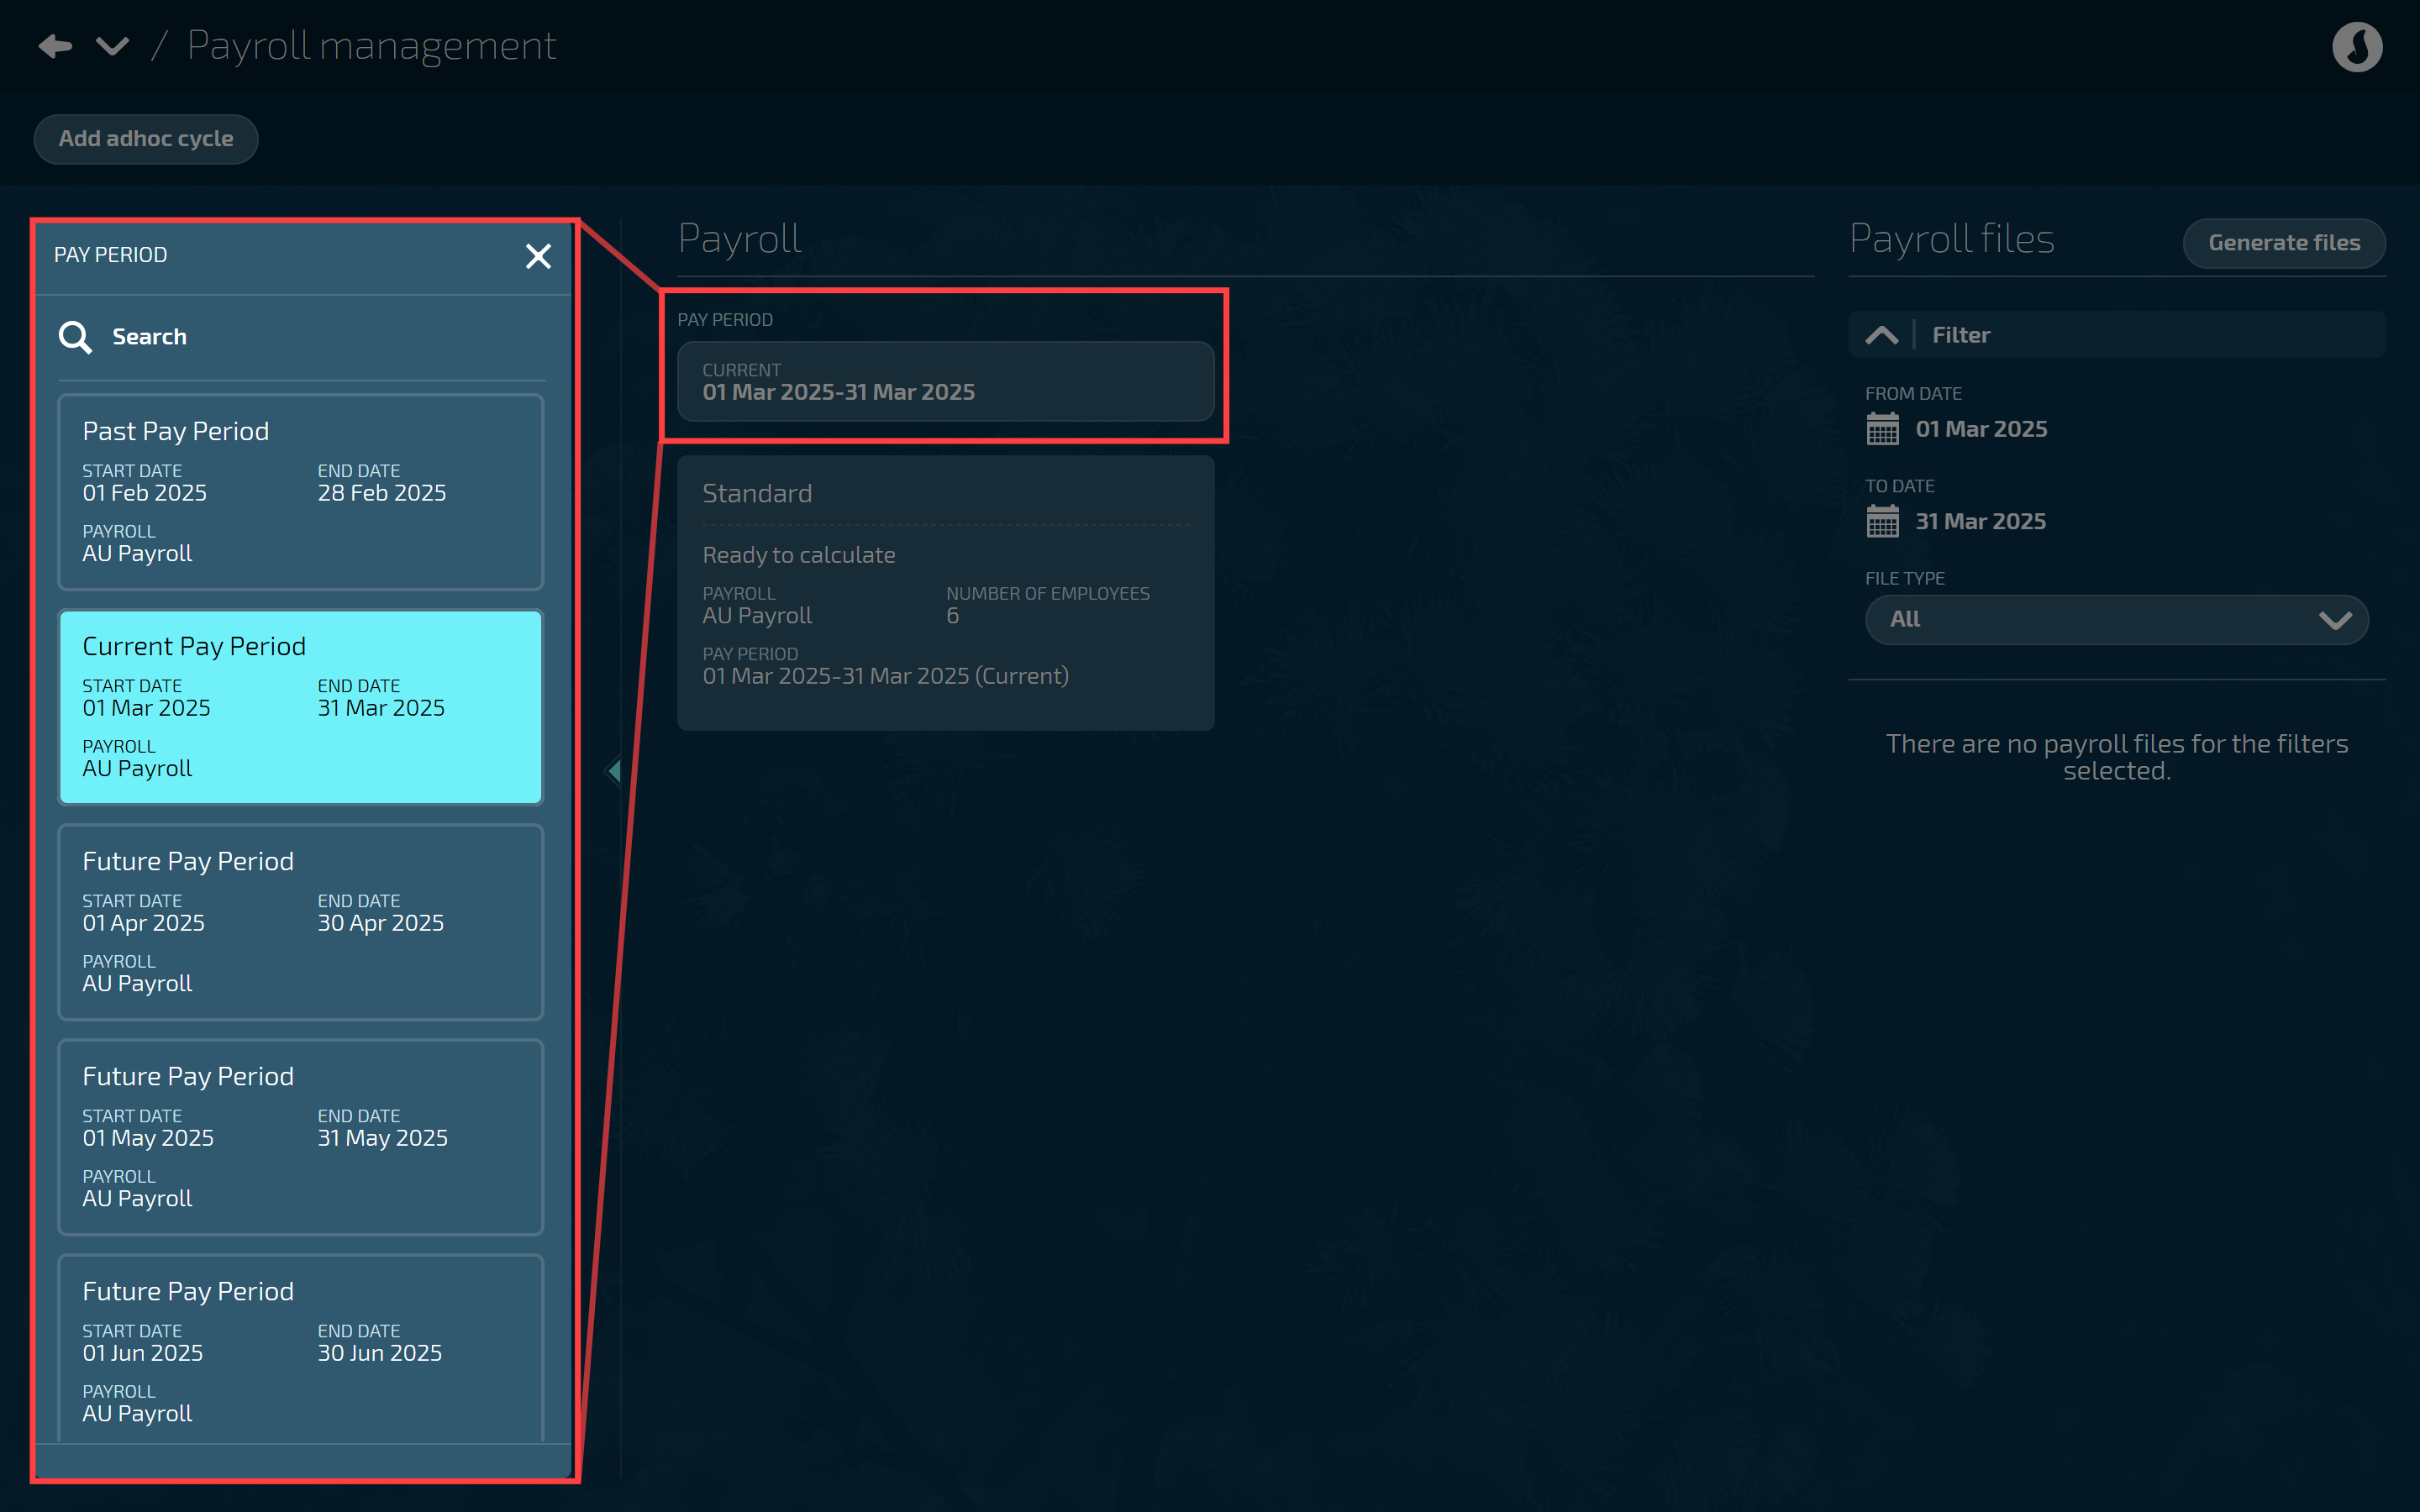
The current pay period is selected by default. Open another pay period by selecting the pay period card, which will open the ‘Select Pay Period’ panel. From this panel, you can select another pay period card.
TIP
Scroll up or down in the Pay Period panel to find historical or future pay periods, or type the pay period date in the Search field to filter results.
Manage pay in the Pay Cycles view
Select a pay cycle card to open the Pay Cycles view
By selecting a pay cycle card, the Pay Cycles view will open. This is where you can process pay.
For more on pay cycles, refer to Intro to Pay Cycles (Australia only) or Intro to Pay Cycles (New Zealand only).
.png)
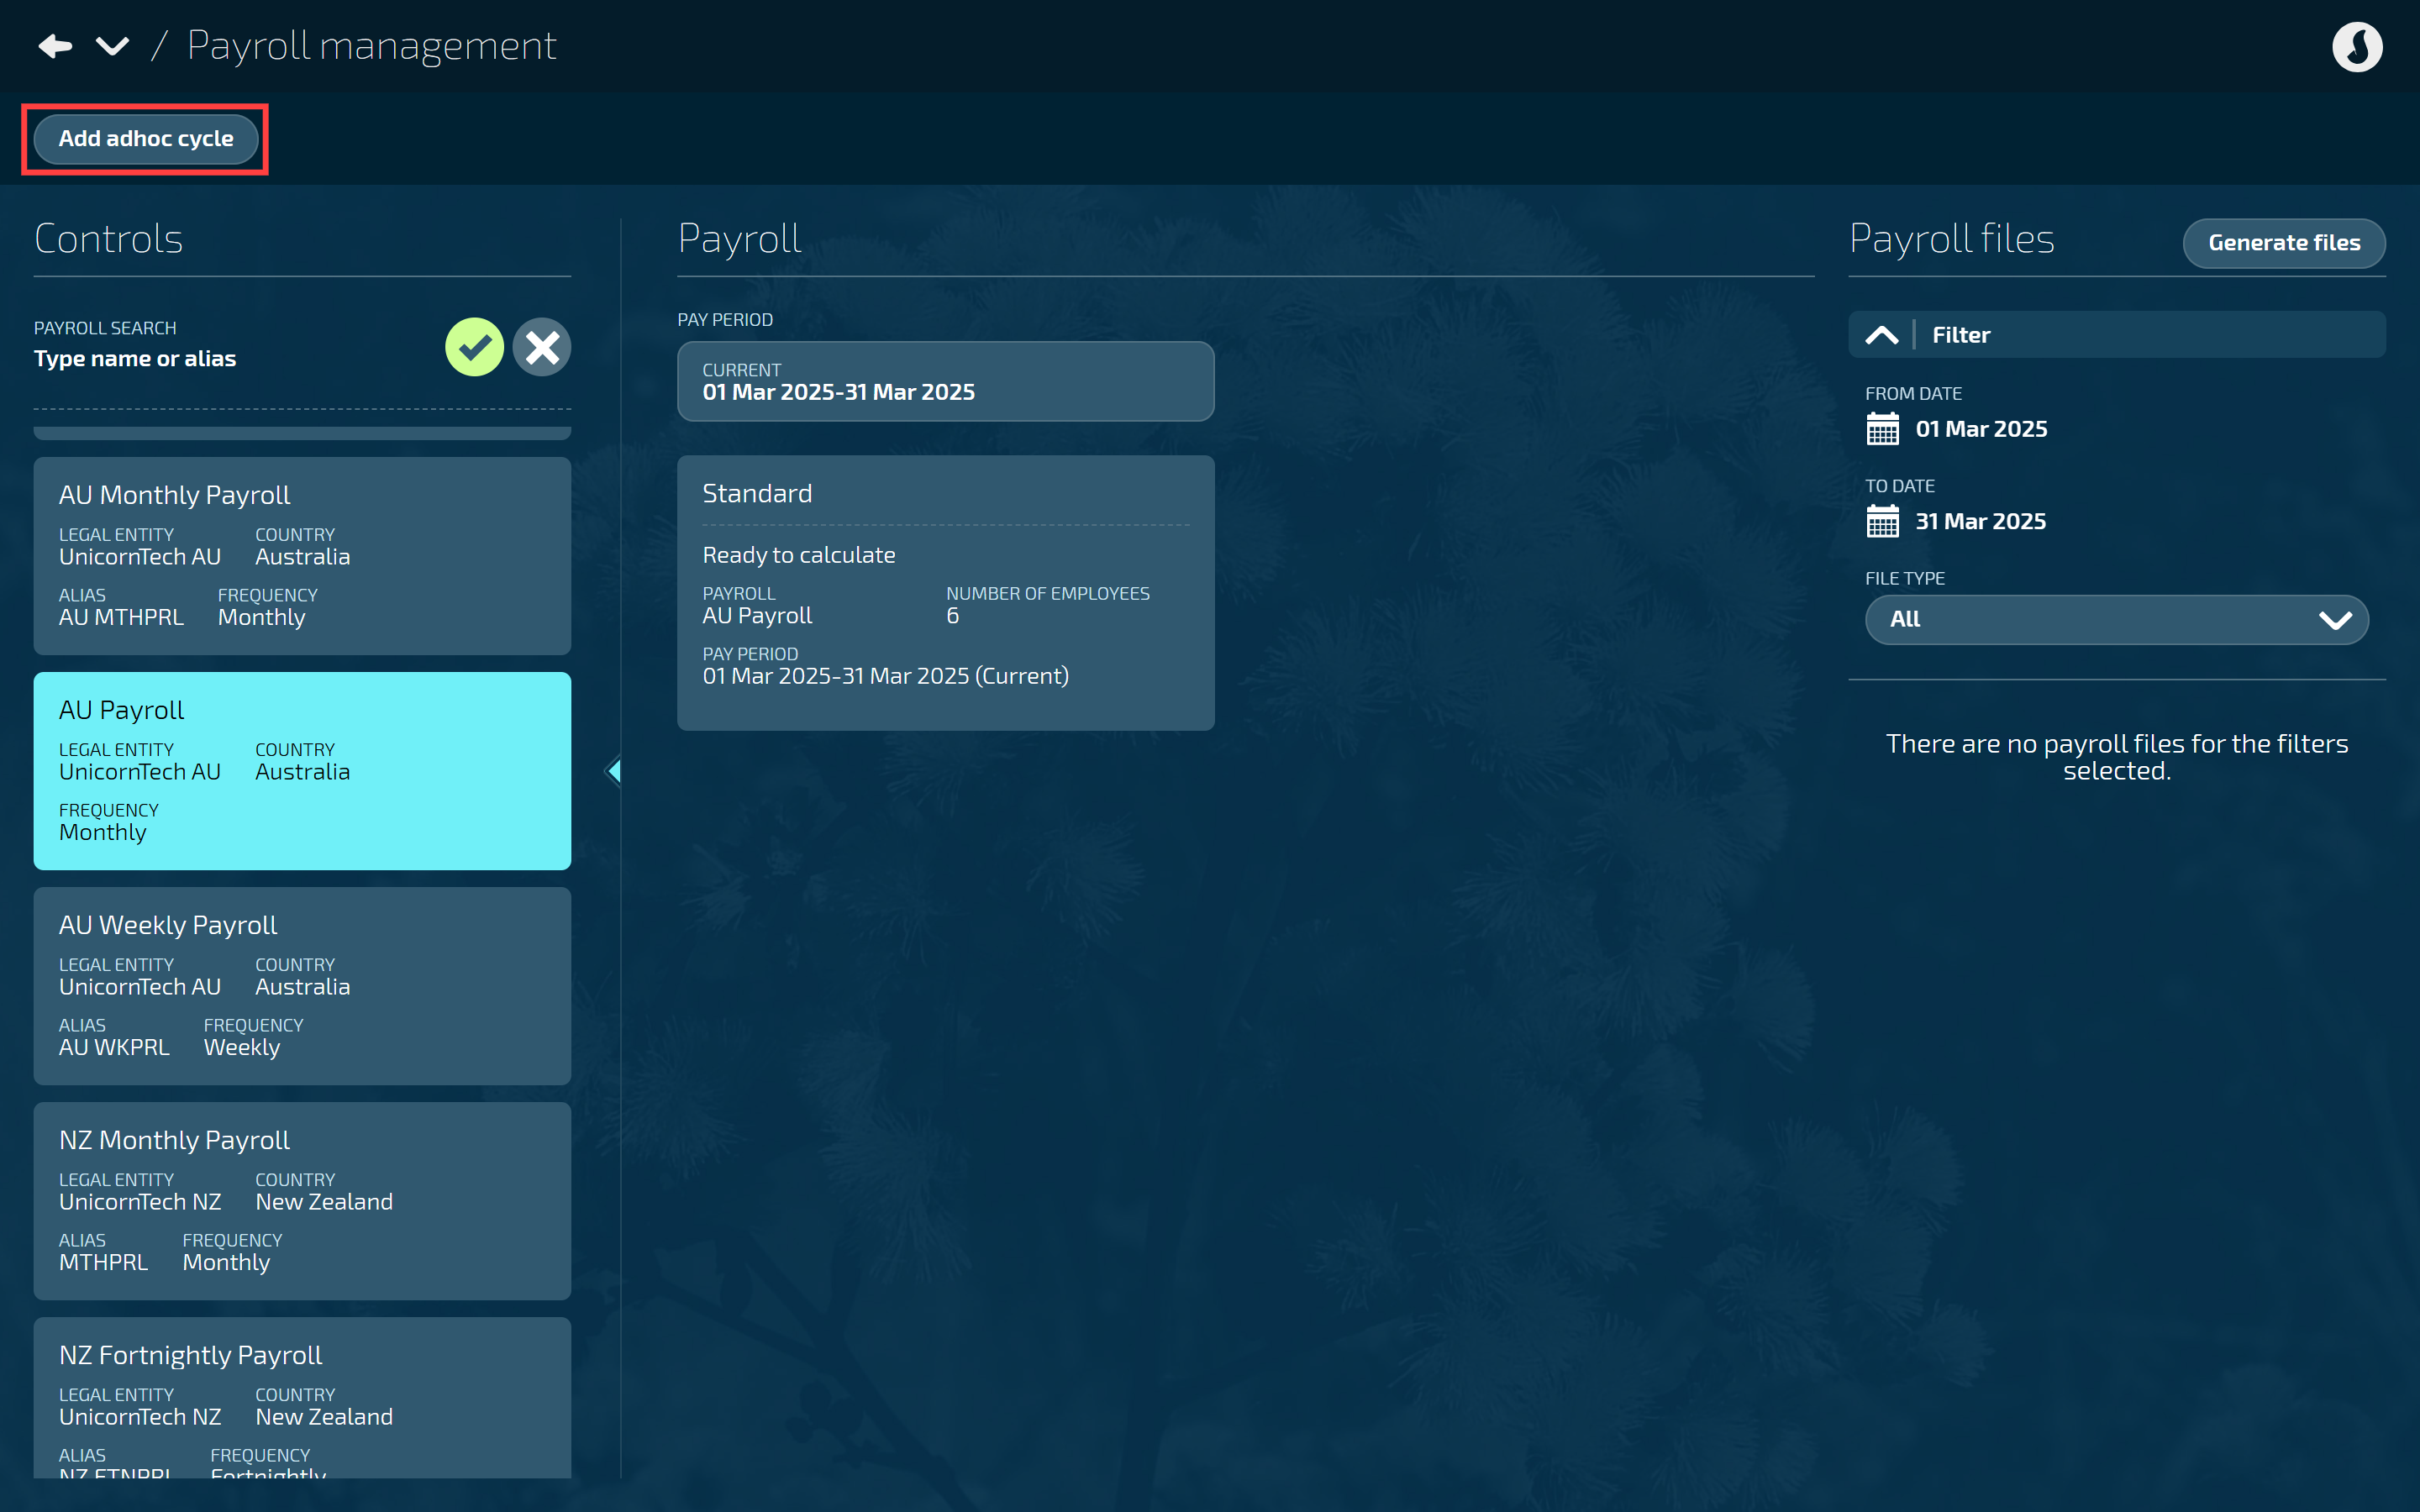
Add an adhoc pay cycle
You can add an adhoc pay cycle in the Payroll Management view.
For more on adhoc pay cycles, refer to How to create an Ad Hoc Pay Cycle.
TIP
Previously, you needed to open the Pay Cycles view to add an adhoc pay cycle. Now you can add them straight from Payroll Management. Once you select the ‘Add adhoc cycle’ button, the process is exactly the same as before.
View payroll information and generated files (Australian payrolls only)
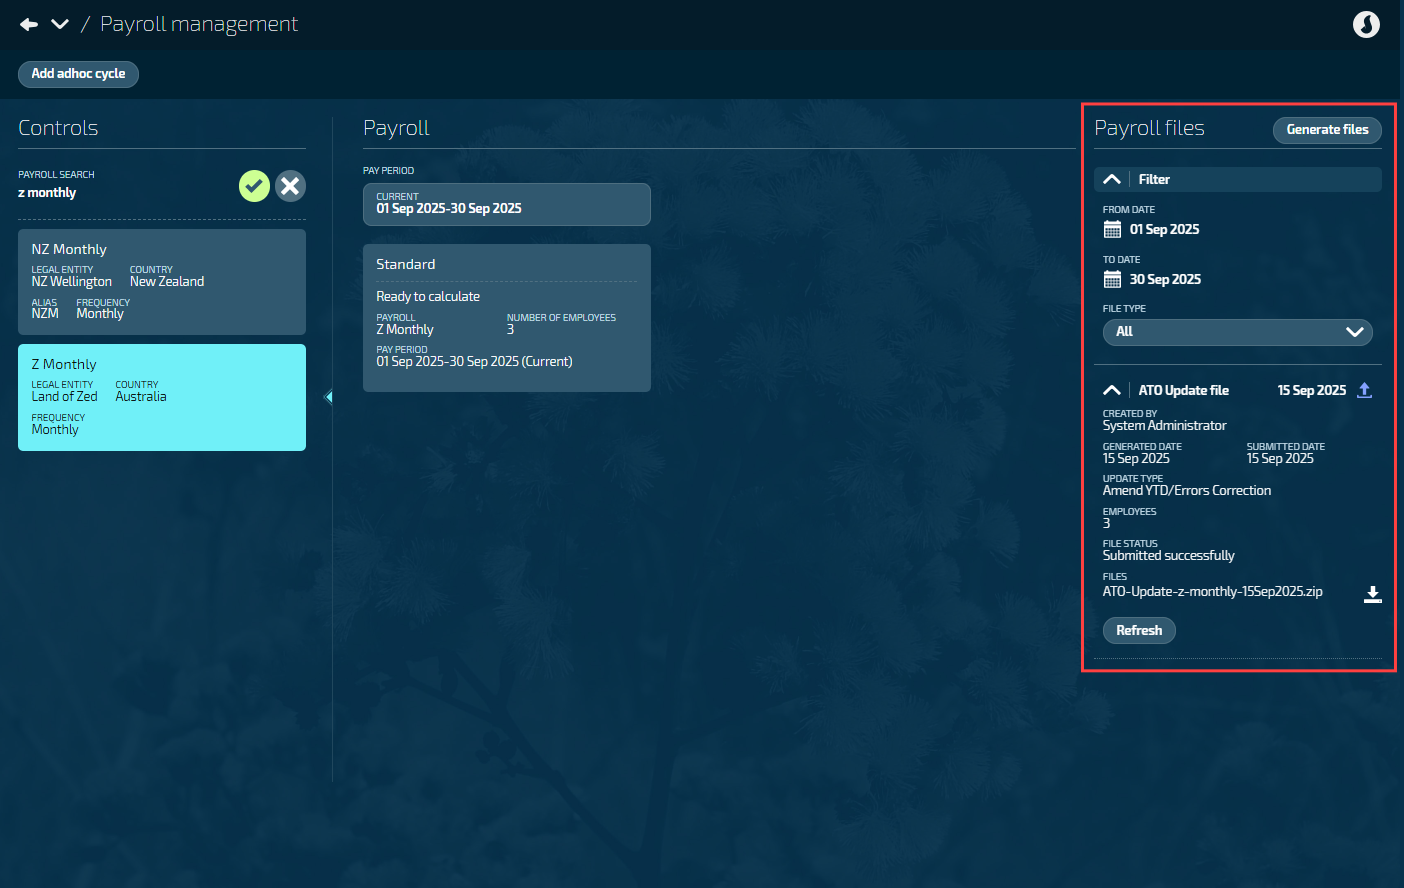
If you have an Australian payroll, the ‘Payroll files’ section in Payroll Management will display generated files for that payroll, including ATO Update and Superannuation (SAFFE) files. ATO Submit files can be found in the Pay Cycles view.
You can filter payroll files by date range and file type. By default, the date range is set to the selected pay period for that payroll.
The files under payroll files can be expanded and collapsed to view the file details (including file download) and any messages or statuses. To learn more about messages and statuses, refer to Pay period file indicators and messaging.
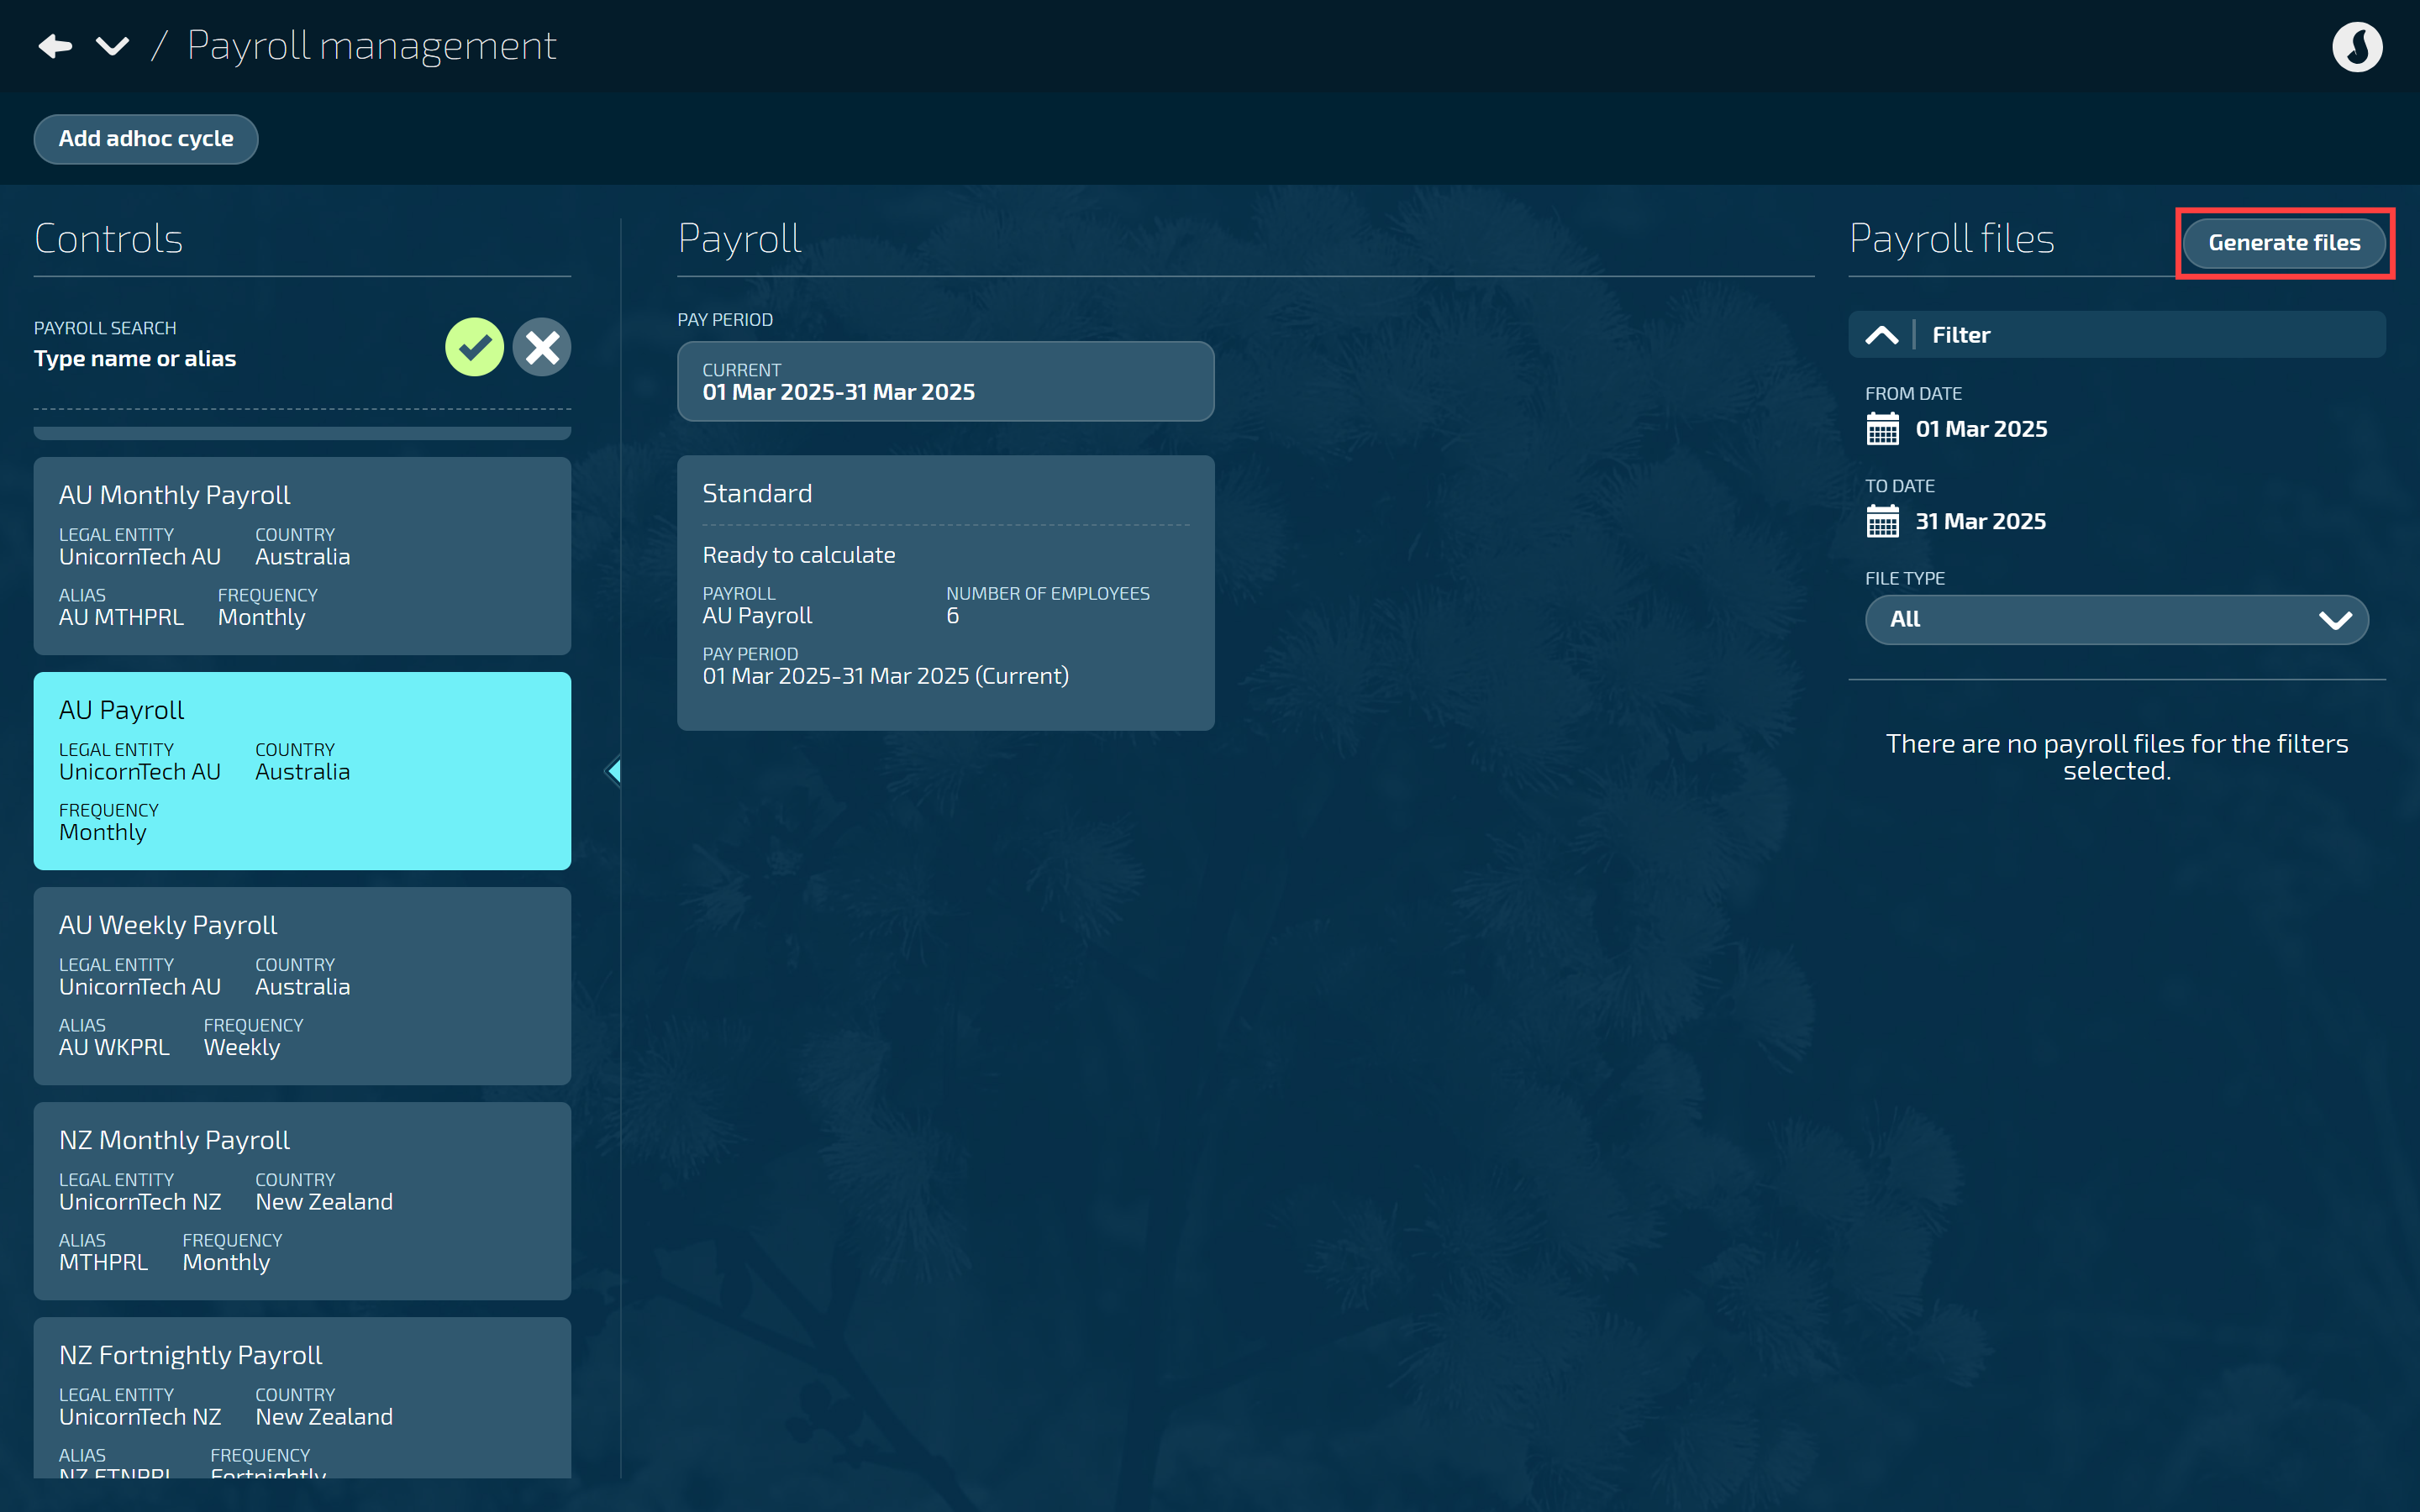
Generate files (Australian payrolls only)
The ‘Generate files’ button allows you to generate ATO Update files and Superannuation (SAFFE) files.
TIP
To generate ATO Submit files, go to the Pay Cycle view. To learn more about generating ATO Submit files, refer to How to generate and submit ATO payroll files.
ATO Update files
To learn how to generate and submit ATO Update files, refer to How to update ATO payroll files.
Superannuation (SAFFE) files
To learn how to generate and download SAFFE files, refer to How to generate SAFFE files.